How to Draw a Camel: Easy Step-by-Step Guide for Anyone
-
 Fatima Saif
- . December 10, 2025
- . Update: December 11, 2025 10:57 am
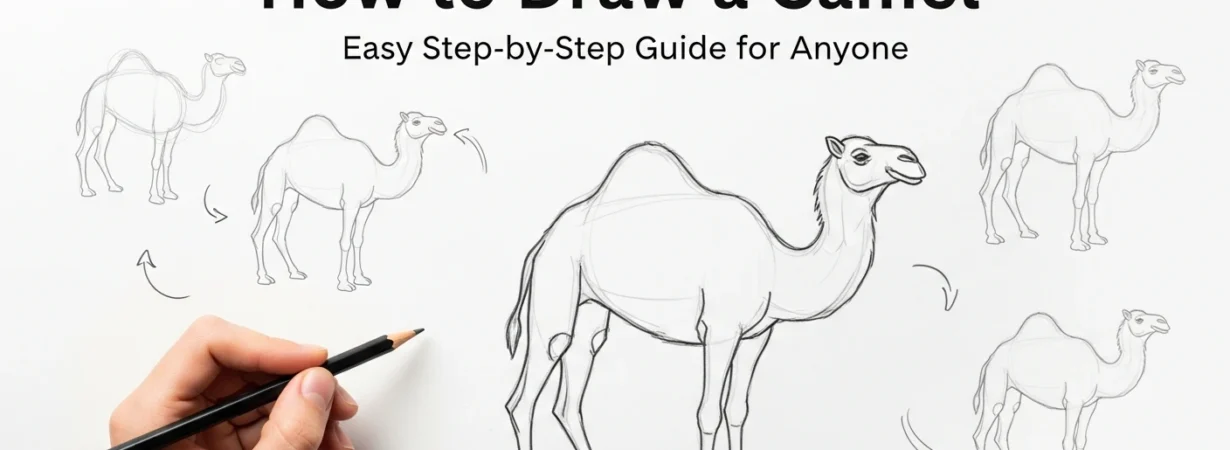
Knowing how to draw a camel can be entertaining to any artist, regardless of his or her age, particularly when you wish to learn to sketch animals in the desert or when you wish to acquire better skills in drawing. The unusual forms of camels include long legs, a curved neck, and a large hump, thereby making it interesting and creative to draw the camels. You are a hobby artist or just a novice, and this simple tutorial will help you make the camel a simple figure with rounded lines. You only need a pencil, eraser, and a piece of paper, and you will master the tricks of drawing a camel with ease and in a realistic manner.
Instructional Guide: How to Draw a Camel
Start with Basic Shapes
In order to draw a camel, one should start with simple shapes. Draw an oval in the shape of a body and a small circle in the shape of a head. Draw a connection with them through a curved line with the neck. When this is done, put a hump over the body – do not forget that the dromedary camel has one hump, and the Bactrian camel has two. These simple geometric forms form a powerful base and make you keep these good proportions.
Bend the Legs and the Neck of the Camel
The structure of the long legs is formed by a straight line to form camels, which are tall and strong. Add small circles to represent such joints as knees and ankles. The neck, then, thickens a little, and around it. Such an element matters since it provides the camel with its legendary position and balance. By taking your time to perfect the shapes you create, you are able to come up with a natural camel.
Add Facial Features
Next, focus on the head. Draw eyes in shapes of almonds, a curved mouth, and nostrils. The faces of the camel are expressive, and therefore, little curves should be made on the mouth to make it appear friendly. Remember their long eyelashes – it is one of their distinctive features! The face will make your camel look real and will help to make your final drawing look more real.
Hump and Body Texture
Repaint the hump, smoothed out on the edges, and with a curve on the top. This is where camels keep fat, and hence it must look hard and bulky. A little tail at the end with a tuft of hair. To make your drawing more interesting, lightly draw texture lines down the sides of the neck and legs, displaying the patterns of skin and fur of the camel that is so thick.
Complete Details and Definition
Draw all significant lines in a deeper pencil or pen. Unease with the drawing by deleting redundant guidelines. After this stage, your sketch of a camel should be in good shape and clear. You can add ground lines or desert scenery in case you would have a complete illustration.
Add Coloring and Shading
To further add value to your artwork, give your camel a sandy color that can be either beige, tan, or light brown. Shade under the belly, around the hump, and at the back of the legs to demonstrate depth and sunshine. This additional work gives your drawing a camel piece of art a professional look and a lively appearance.
Suggestions on How to Fast-Sketch Camels
- The body practices the proportions of various body parts many times.
- Note actual camel reference pictures.
- The neck and the hump should be made by means of smooth line curves.
- Apply some shades slowly to have better textures.
- Patience is the key to every drawing: it makes you better.
Any person may learn how to draw a camel by dividing the shapes and assembling details in bits and pieces. The more you practice, the more you will be able to draw realistic and fun animals.