
How to Draw a Butterfly Easily: A Step-by-Step Guide for Beginners
-
 Fatima Saif
- . December 16, 2025
- . Update: December 16, 2025 1:43 am
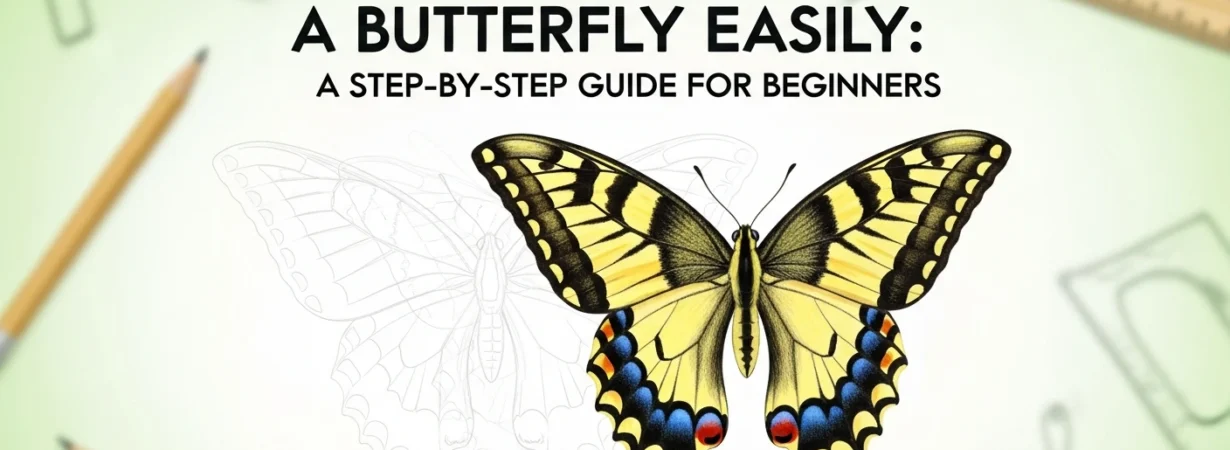
The process of learning how to draw a butterfly is an entertaining and innovative method of enhancing your drawing abilities as well as spending a calming activity. Butterflies are popular due to their symmetry, delicate forms and bright colors, which make them an ideal choice of both newcomers and children. You may be drawing either to practice, or schoolwork or just to have fun, but once you know the basic structure of a butterfly, then you may find it quite easy and even easy going. This tutorial shows how to draw a butterfly step by step,beginning with the body and wings to completing it and adding details and color to it. In several simple methods and drawing tricks you can draw a gorgeous butterfly sketch that sounds balanced and realistic.
Understanding the Basic Butterfly Structure
It is necessary to know the simple parts of the butterfly before knowing how to draw it. A butterfly has three primary body parts, which are; the head, thorax, and abdomen. It also possesses two antennae as well as four wings; two bigger higher wings and two smaller lower wings. The wings are symmetrical which means that both sides are supposed to be almost the same. Having this structure at the back of your mind will help you to have a neat and proportionate butterfly drawing.
Step 1: Draw the Body and Antennae
Where to start on how to draw a butterfly, one starts with the body. A small circle will be used to represent the head, an oval to represent thorax and a longer oval to represent abdomen. Relate these figures without any hindrance. Attach two fine antennas on head, and bend them outwards slightly. Decorations may be added by little curls at the corners.
Step 2: Add a Center Line for Symmetry
Slightly make a vertical centre line towards the bottom of the page. This rule is critical in the process of mastering the art of drawing a butterfly in that the wings are made even. This line can be deleted later but in the meantime, it provides balance and symmetry.
Step 3: Sketch the Upper and Lower Wings
On either side of the thorax, above, trace great curved forms, representing the upper wings. Ensure that they are reflective of one another. Then below them put in smaller curved figures representing the lower wings. It is most effective when drawing how to make a butterfly to draw both wings in one sketch and not one side first then another.
Step 4: Add Wing Details and Patterns
On the wings, draw plain shapes such as circles, teardrops or shapes of petals. Always have the patterns symmetrical around. This is the point when the way to draw a butterfly is creative because you are able to create your own patterns based on the real butterflies.
Step 5: Outline, Erase, and Color
When you are satisfied, trace your drawing with a heavier pencil or marker. Wipe out the additional guidelines. And lastly, paint your butterfly with vivid colors. Darker ones closer to the body and the light ones on the edges usually produce an effect of realism.
Tips for Perfect Butterfly Drawings
In learning to draw a butterfly, use your paper and fold it so that you can trace one wing of the paper on the other wing. Colors and patterns can also be mentioned with references to actual butterfly images.